Smart Lock Not Locking? 3 Common DIY Installation Mistakes (And Easy Fixes)
Posted by Mat Steele on 18th Feb 2026
Smart Lock Not Locking?
The three most common DIY installation mistakes — and exactly how to fix them.
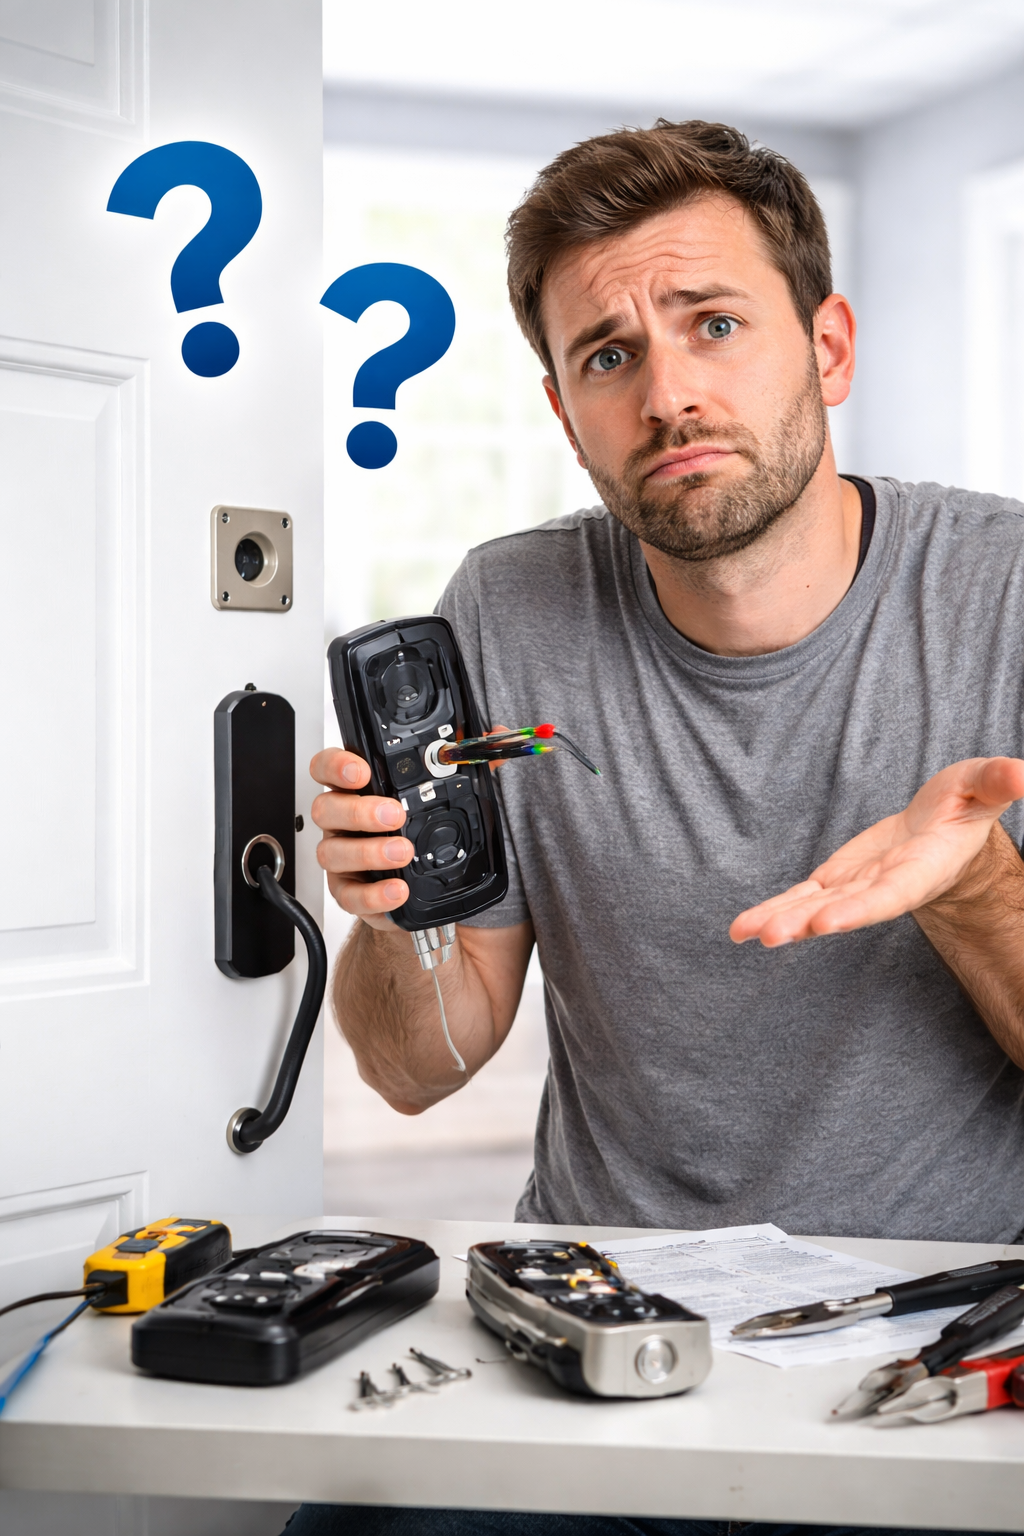
Smart locks are designed to be installer-friendly, and many DIY installations go smoothly. But we regularly see a handful of mistakes that cause frustration, unexpected behaviour, or genuine concern that the lock itself is faulty.
In most cases, the lock is fine. This guide covers the three most common issues we see:
- The handle still opens the door even when the lock shows as locked
- Choosing the wrong hardware, latch, or backset for the door
- Poor door preparation — the one mistake that can actually damage the lock over time
For foundational measurement guidance before installation, see Chapter 02 — Measuring Your Door and How to measure your lock backset. For a full installation walkthrough, see Chapter 12 — Installation & Troubleshooting.
Last updated May 2026.
The 3 Most Common DIY Mistakes at a Glance
1 — Handle still opens when “locked”
Usually caused by the spindle or hub being set in the wrong position. Not a faulty lock.
2 — Wrong hardware or backset
The lock, latch, or backset doesn’t match the door preparation. Usually identified before or just after first install.
3 — Poor door preparation or fitment
Holes not square or straight cause binding and can damage the motor over time if not corrected.
Mistake 1 — Handle Still Opens When the Lock Is “Locked”
The symptom: “It’s locked — but when I pull the handle it still opens.” Or: “If I lift the handle, the latch retracts even though it’s locked.” In almost every case, this is not a faulty lock.
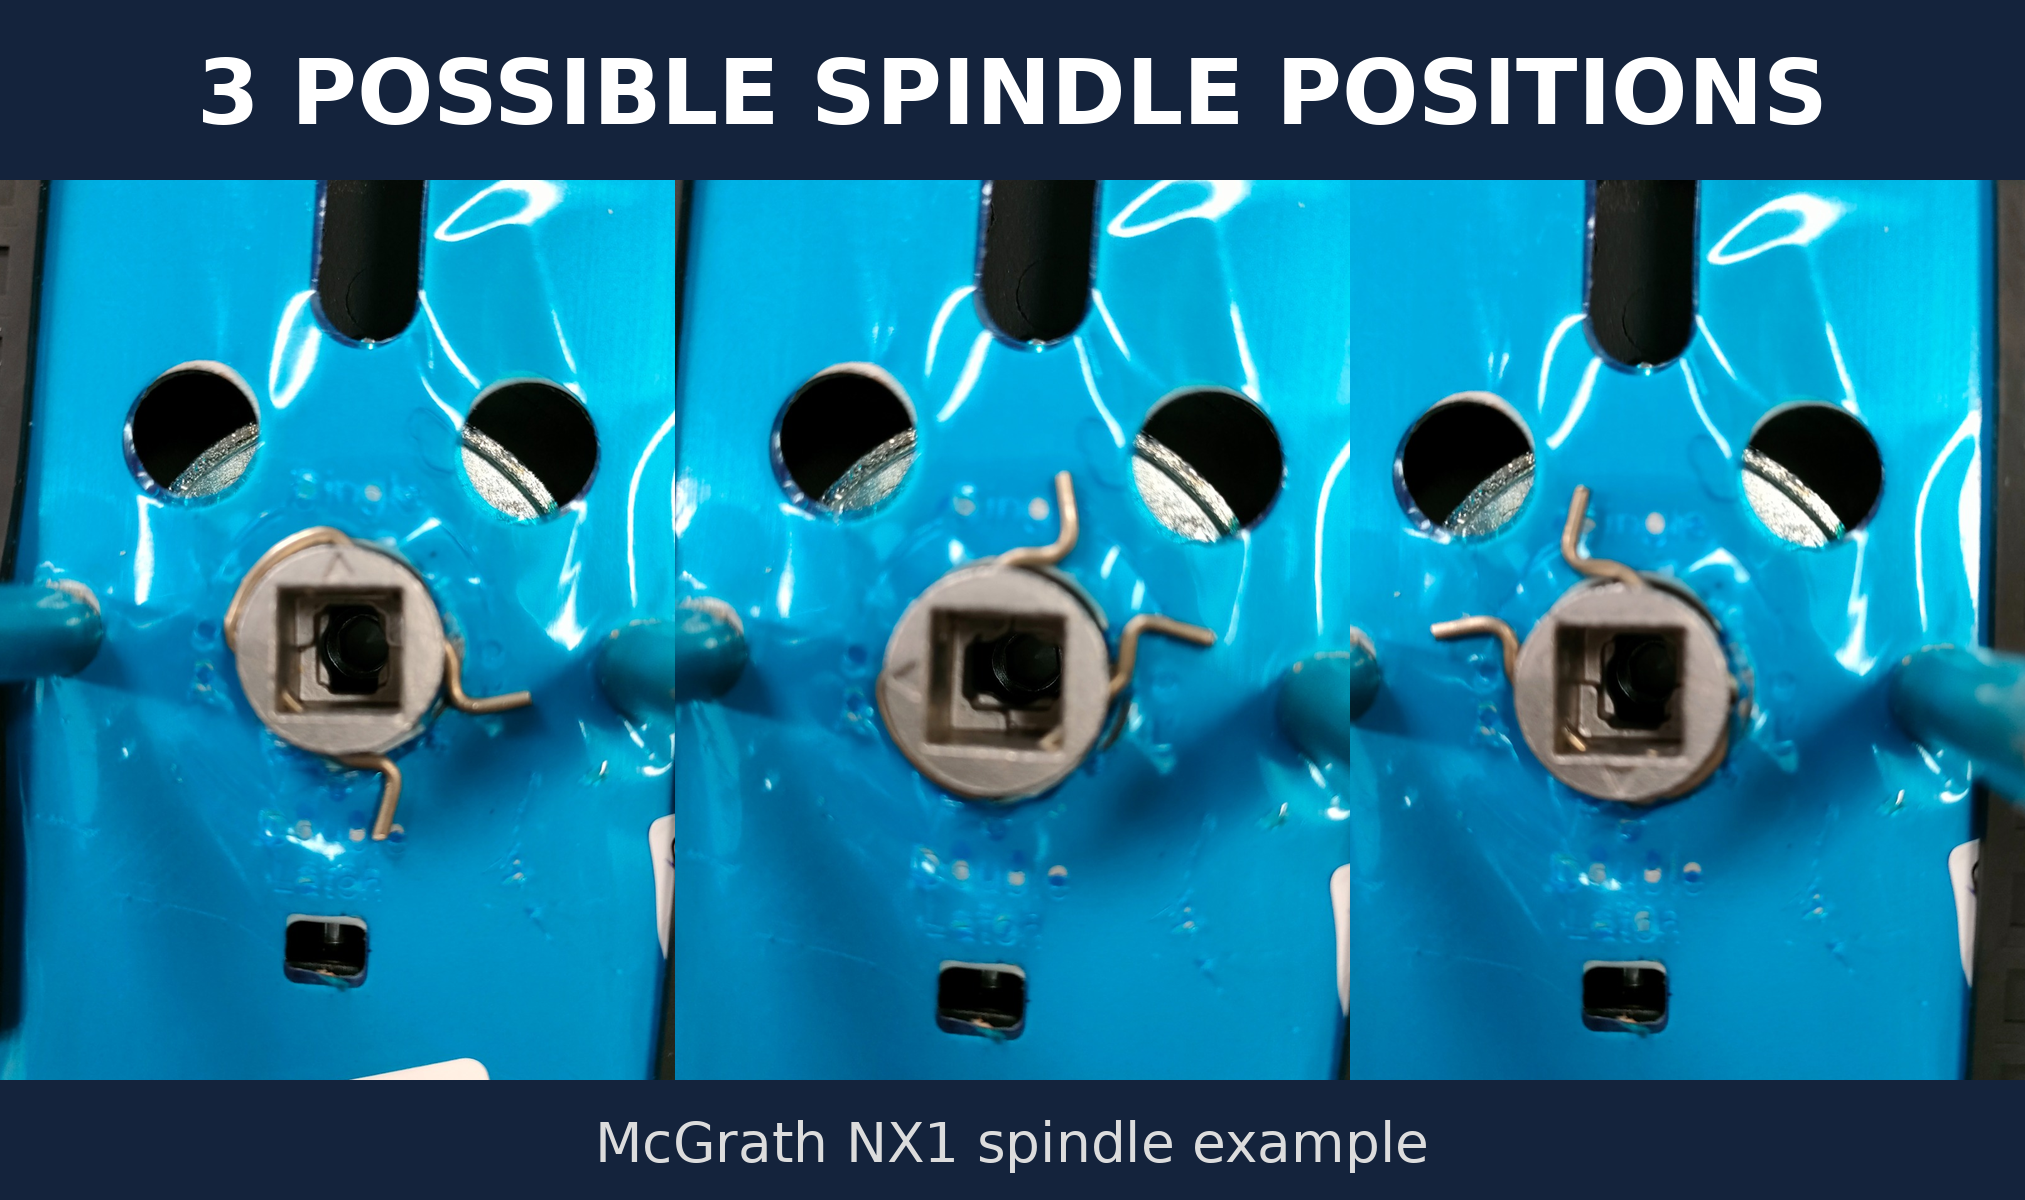
The cause is the spindle or hub being set in the incorrect position during installation. Most smart locks use an adjustable internal spindle or hub system. If it is positioned incorrectly:
- The latch can retract while the lock is in locked mode
- The handle can still operate the latch mechanically
- The lock appears not to be locking
- The motor re-locks, but the mechanical connection was never disengaged
- Remove the lock from the door.
- Hold the lock body and latch in your hands while the lock is in locked mode (no code or fingerprint entered in the last 5–10 seconds).
- While locked: push the handle down — nothing should happen. Lift the handle (if applicable) — nothing should happen. The latch must not retract.
- If the latch retracts in either direction, adjust the spindle or hub to the next position and retest. The hub has three possible positions.
- Correct setup: the latch only retracts while the lock is actively in unlock mode. Once that is confirmed, reinstall.
Mistake 2 — Choosing the Wrong Hardware or Backset
Another common issue is selecting the wrong configuration for the door. Examples include:
- Ordering a 60mm backset when the door is prepared for 70mm
- Choosing a tubular latch model when the door is prepared for a mortice lock body
- Installing on a door that is too thick or too thin for the supplied spindle length
- Purchasing a smart lock that does not match the existing hole pattern
The result is poor alignment, excess handle tension, visible gaps, or a lock that simply will not sit correctly on the door. In some cases the correct latch, lock body, or backset spacer will need to be ordered before the install can proceed.
Mistake 3 — Poor Door Preparation or Fitment
We regularly see cross-bore holes drilled slightly off-centre, holes not drilled square to the face of the door, mortice cavities cut unevenly, splintered or compressed timber, and misaligned strike plates.
For the correct hole sizing and door preparation specifications, see Chapter 02 — Measuring Your Door in the Buyer’s Guide.
Smart locks contain internal motors and gear assemblies. If the latch or bolt is under tension because the door preparation is not square or straight, the motor is forced to work harder than it is designed to. Over time this can:
- Drain batteries significantly faster than normal
- Cause delayed or sluggish locking and unlocking
- Create grinding or clicking noises during operation
- Lead to premature internal motor failure
Final Thought
In our experience, the majority of “faulty” smart locks are not faulty at all. They are installation-related — and most are completely fixable without any replacement parts.
Checking spindle orientation, confirming correct hardware selection, and ensuring proper door preparation will prevent nearly all of the issues described above. When in doubt, test off the door before drilling anything.
If you are using a TTLock-based lock (McGrath, Lockton, Austyle) and experiencing unexpected app notifications rather than a mechanical issue, see Tamper Alert on Smart Locks — phantom alerts are often a settings issue, not an installation problem. For the quick-reference FAQ entry on this topic, see Chapter 13 — Smart Lock FAQ.
Still Stuck?
Gold Coast — Hands-on Help
Need someone to attend and sort it properly? Book one of our experienced locksmiths for an on-site smart lock service.
Visit tlslocks.com.au →Phone Support (30 Minutes)
Outside the area or just need expert guidance? Book a dedicated 30-minute phone support session with a qualified locksmith.
Book phone support →Related Guides
Step-by-step guide to measuring backset before ordering — the number one way to avoid Mistake 2.
How installation quality, door prep, and usage patterns affect smart lock lifespan — and what to do when a lock wears out.
If the lock behaves correctly mechanically but keeps sending notifications — this is usually a TTLock app settings issue, not an install problem.
When it’s faster to have a locksmith do it properly the first time — site survey, supply, and installation on the Gold Coast.
Backset, bore hole, door thickness, stile width, and screen clearance — every measurement you need before ordering a smart lock.
Full installation walkthrough and troubleshooting reference for smart locks — the step-by-step companion to this article.
Want to Get It Right the First Time?
Before you buy, confirm the right lock and components for your door — we’ll help you avoid the most common install mistakes before they happen.
Ask an ExpertVisit Australia’s leading Smart Lock showroom and workshop:
Gold Coast Smart Locks
9/2 Prosper Crescent
Burleigh Heads, QLD
See working models, compare gateways, and get real advice before you commit.